목표 : 라즈베리파이를 이용한 웹을 통한 GPIO제어를 하려한다.
1. 라즈베리파이의 웹서비스 제공.
lighttpd 서비스 설치.
lighttpd 화면을 볼 수 있다.
2. 설정변경.
pi@raspberrypi /var/www $ ls -l /usr/bin/python
lrwxrwxrwx 1 root root 9 Jun 6 2012 /usr/bin/python -> python2.7
pi@raspberrypi /var/www $ sudo chmod u+s /usr/bin/python
pi@raspberrypi /var/www $ ls -l /usr/bin/python
-rwsr-xr-x 1 root root 2674528 Mar 17 18:16 /usr/bin/python
python의 실행권한을 변경하고,
$ sudo vi /etc/lighttpd/lighttpd.conf
server.modules = (
“mod_access”,
“mod_alias”,
“mod_accesslog”,
“mod_auth”,
“mod_ssi”,
“mod_cgi”,
“mod_compress”,
“mod_fastcgi”,
“mod_rewrite”,
)
server.modules 에 상기와 같이 변경해주고,
제일 하단에 python 화일을 넣어둘 디렉토리를 지정해준다.
$HTTP[“url”] =~ “^/py/” {
cgi.assign = ( “.py” => “/usr/bin/python” )
}
이후
$ sudo service lighttpd restart
재시작을 하고
test.py 를 /var/www/py 폴더 내에 입력해준다.
#! /usr/bin/python
# bring in the libraries
import RPi.GPIO as G
from flup.server.fcgi import WSGIServer
import sys, urlparse
# set up our GPIO pins
G.setmode(G.BOARD)
G.setup(7, G.OUT)
G.setup(11, G.OUT)
G.setup(13, G.OUT)
# all of our code now lives within the app() function which is called for each http request we receive
def app(environ, start_response):
# start our http response
start_response(“200 OK”, [(“Content-Type”, “text/html”)])
# look for inputs on the URL
i = urlparse.parse_qs(environ[“QUERY_STRING”])
yield (‘ ’) # flup expects a string to be returned from this function
# if there’s a url variable named ‘q’
if “q” in i:
if i[“q”][0] == “a”:
G.output(7, True) # Turn it on
elif i[“q”][0] == “b”:
G.output(7, False) # Turn it off
elif i[“q”][0] == “c”:
G.output(11, True) # Turn it off
elif i[“q”][0] == “d”:
G.output(11, False) # Turn it off
elif i[“q”][0] == “e”:
G.output(13, True) # Turn it off
elif i[“q”][0] == “f”:
G.output(13, False) # Turn it off
#by default, Flup works out how to bind to the web server for us, so just call it with our app() function and let it get on with it
WSGIServer(app).run()
$ chmod +x test.py
python 파일의 실행권한 변경.
/var/www/test.html 입력 내용.
<html>
<head>
<title>Hello from the Pi</title>
<script src=”//ajax.googleapis.com/ajax/libs/prototype/1.7.1.0/prototype.js”></script>
</head>
<body>
<h1>Hello world from the Raspberry Pi</h1>
<form>
<input type=”button” value=”1On” onclick=”go(‘a’)” style=”font-size:200%;”><br />
<input type=”button” value=”1Off” onclick=”go(‘b’)” style=”font-size:200%;”>
<br /><br />
<input type=”button” value=”2On” onclick=”go(‘c’)” style=”font-size:200%;”><br />
<input type=”button” value=”2Off” onclick=”go(‘d’)” style=”font-size:200%;”>
<br /><br />
<input type=”button” value=”3On” onclick=”go(‘e’)” style=”font-size:200%;”><br />
<input type=”button” value=”3Off” onclick=”go(‘f’)” style=”font-size:200%;”>
</form>
<script type=”text/javascript”>
function go(qry) {
new Ajax.Request(‘./py/test.py?q=’ + qry,
{method: ‘GET’}
);
}
</script>
</body>
</html>
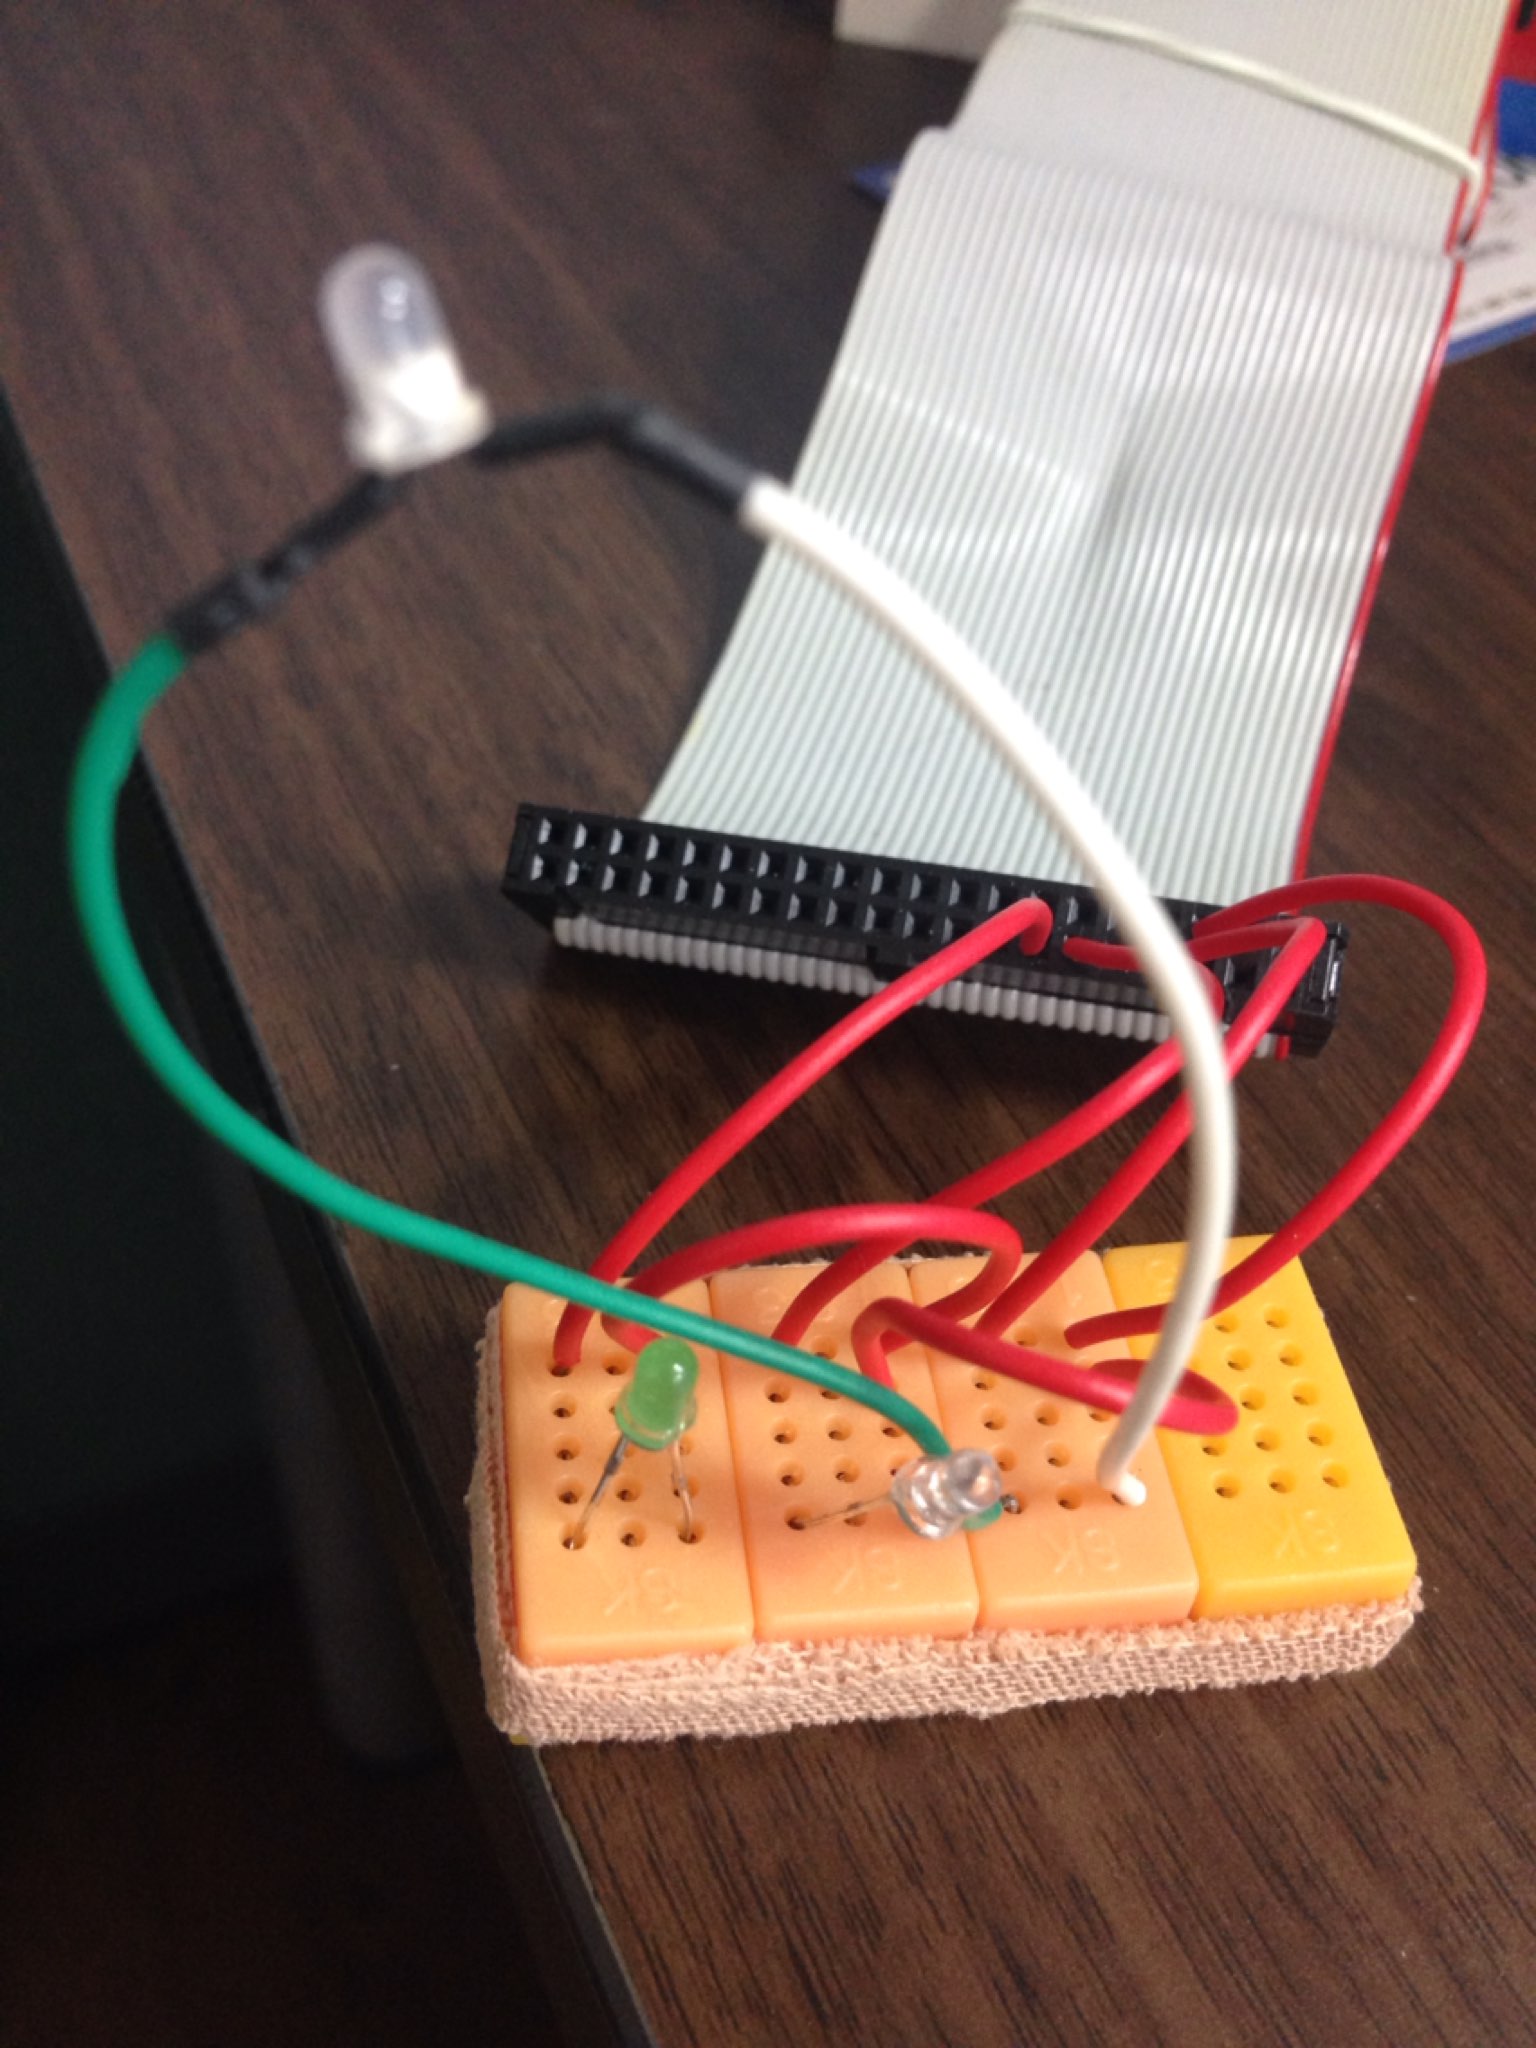
GPIO 작업부분은 아래와 같이 7, 11, 13 번에 각각의 LED + 선을 연결하고, GND 선을 연결해준 후…
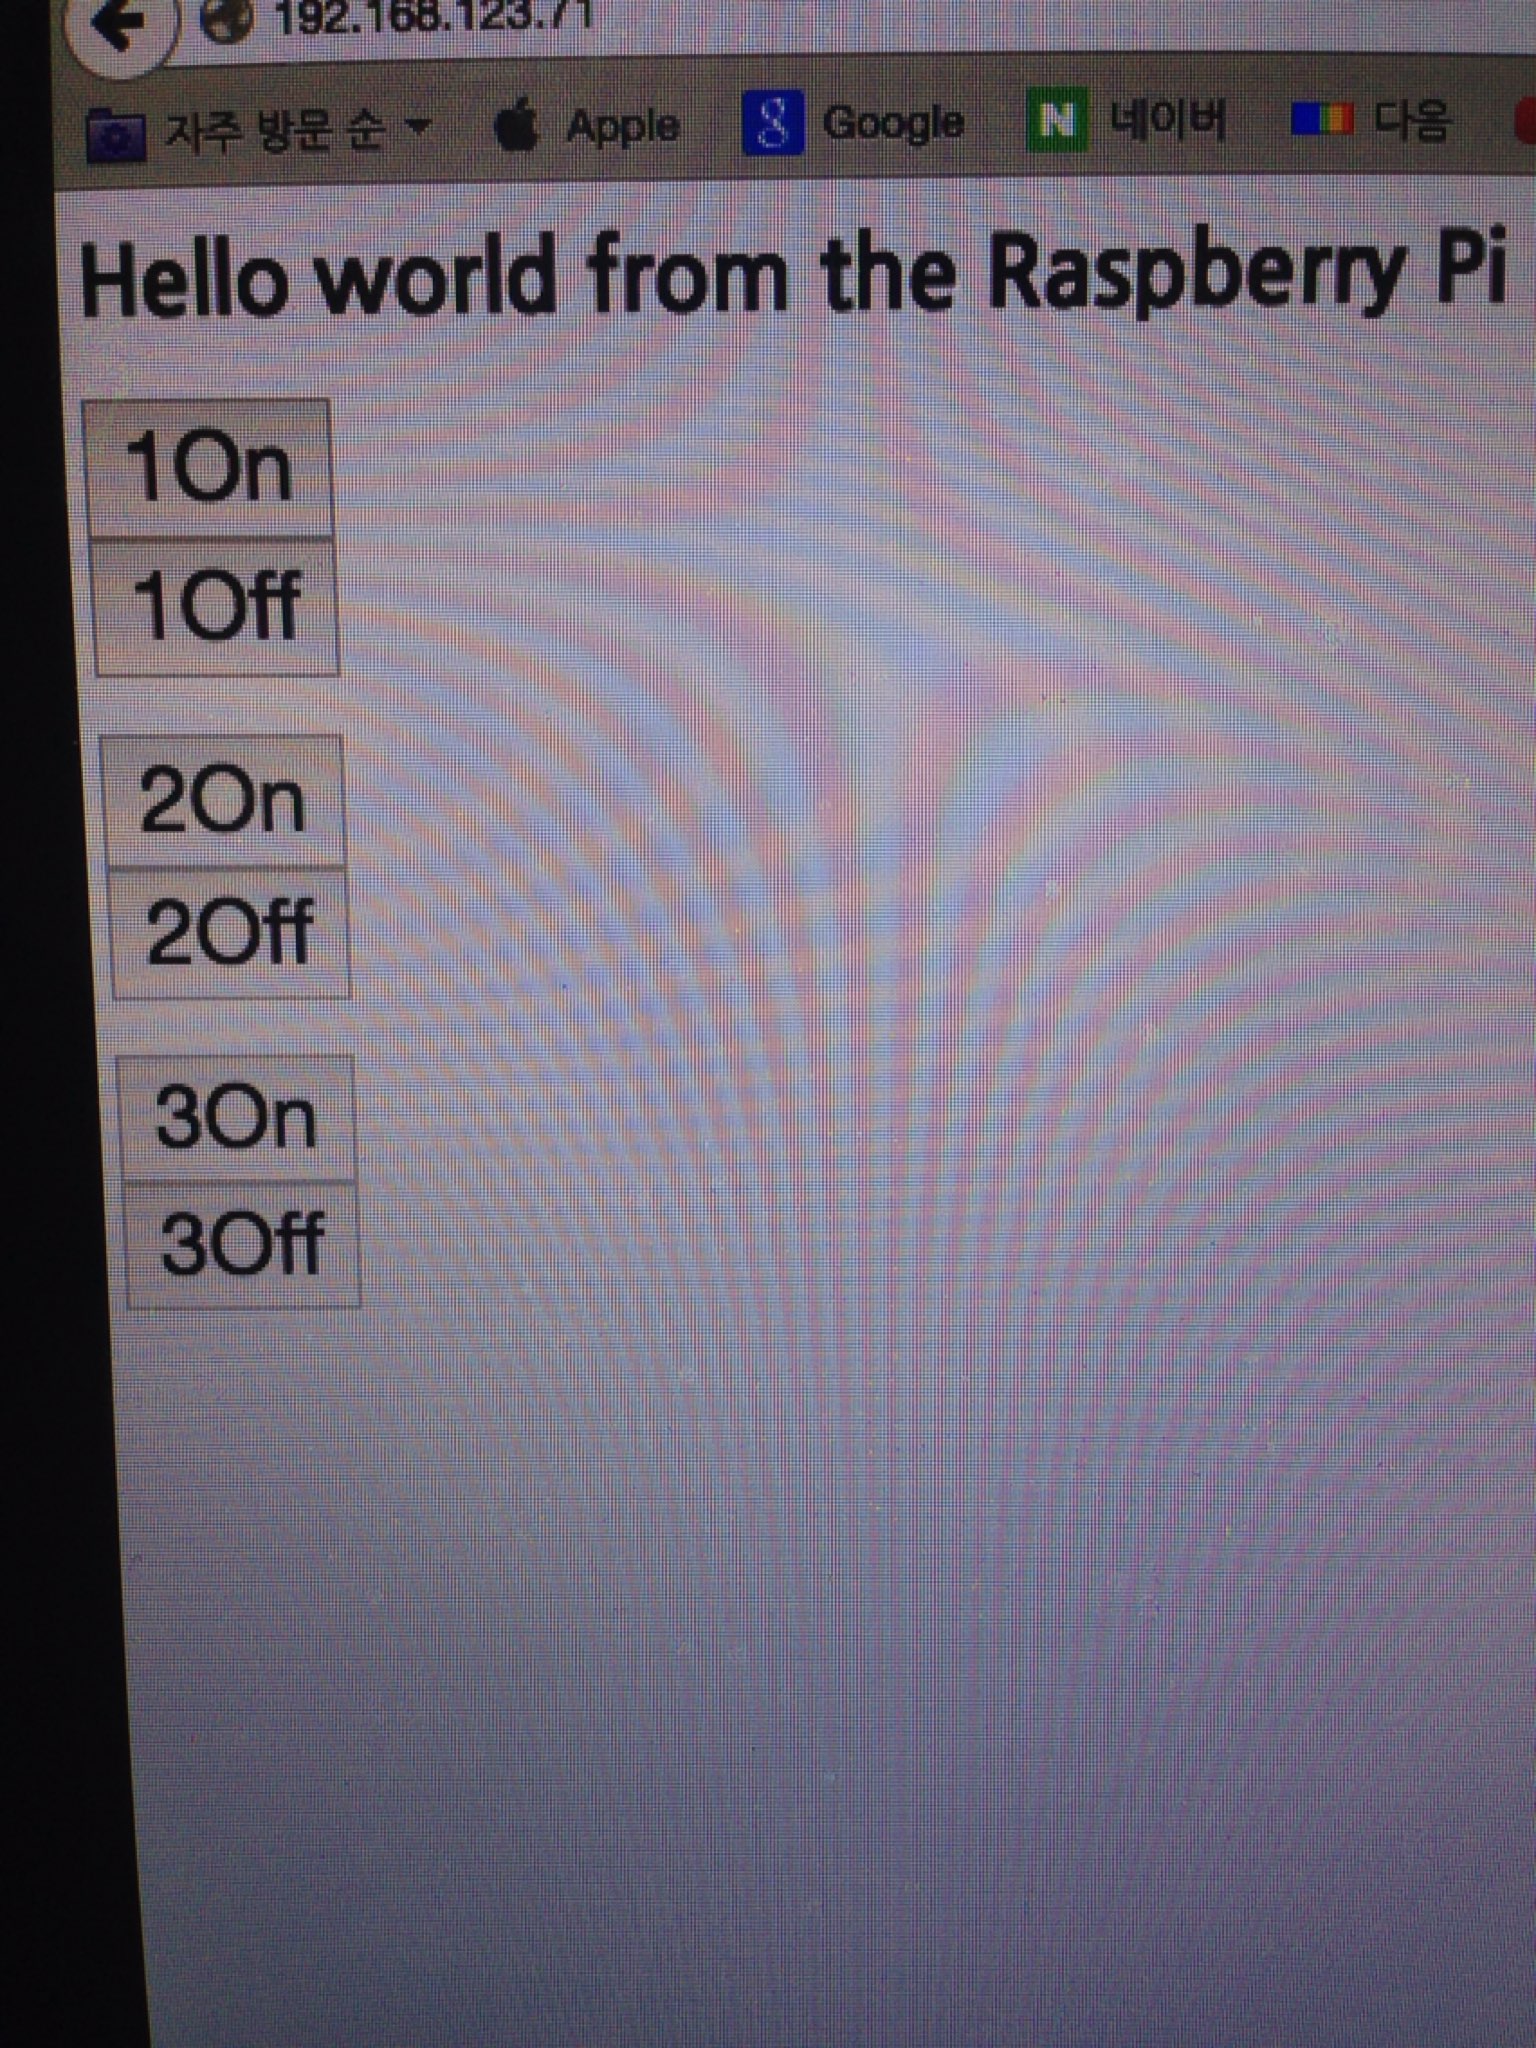
홈페이지 를 열어보시면… 아래와 같은 화면이 보인다.
각각의 ON 을 누르면 아래와 같이 3개의 LED가 들어오는 것을 볼 수 있다.
참고 : http://make.bcde.jp/category/16/